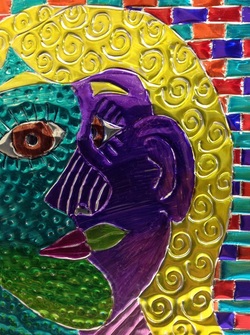
Abstract Foil Art
Objectives:
- Visual Art: Student will be able develop an abstract face that combine front and side view features.
- Language Art: Students will use art terms correctly when reflecting.
Directions:
Part A: Brainstorming
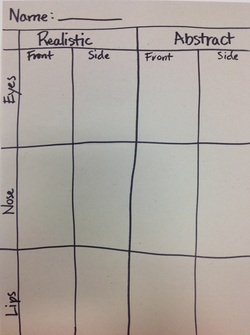
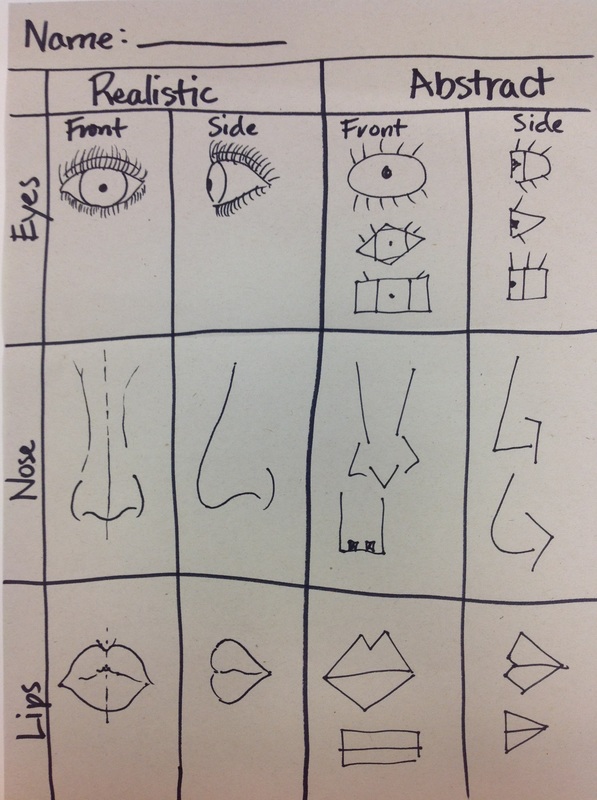
Step 1: Draw out the Realistic vs. Abstract Features Chart.
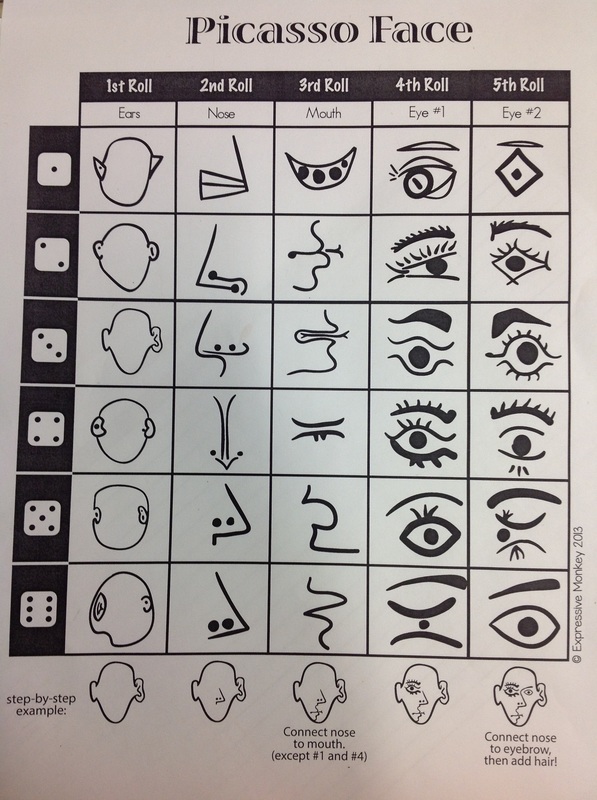
Step 2: Fill out the chart using the Picasso Portraits Page. -video
Step 3: Get metal foil from Mrs. C and trace the rectangle on a yellow practice paper. (hand foil back to Mrs. C)
Step 2: Fill out the chart using the Picasso Portraits Page. -video
Step 3: Get metal foil from Mrs. C and trace the rectangle on a yellow practice paper. (hand foil back to Mrs. C)
Step 4: Deciding! - Video
- What facial features should you use? (Front and Side Views Combined)
- Abstract Art is a simplified version of what you are creating.
|
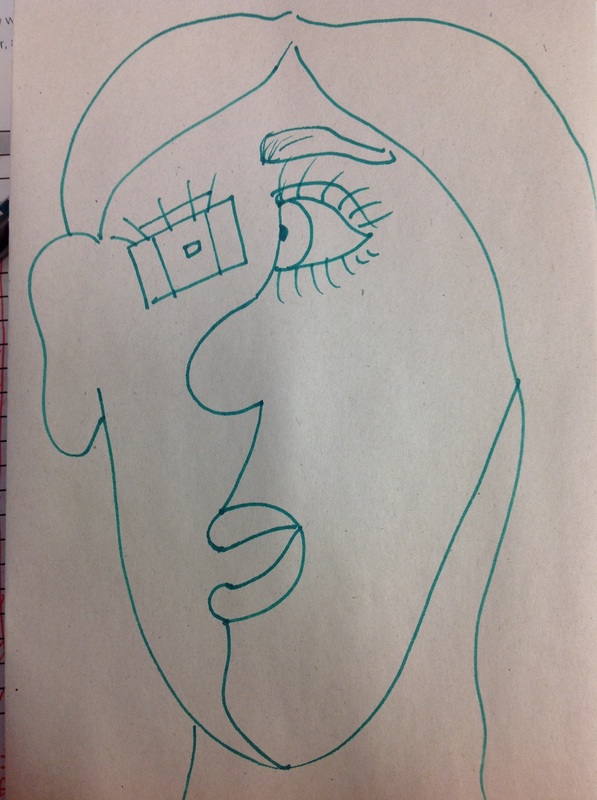
Step 5: Draw out your practice abstract face in the space you traced. (Draw large. Use the whole rectangle you traced!)
Step 6: Show Mrs. C |
Examples for Step 5
  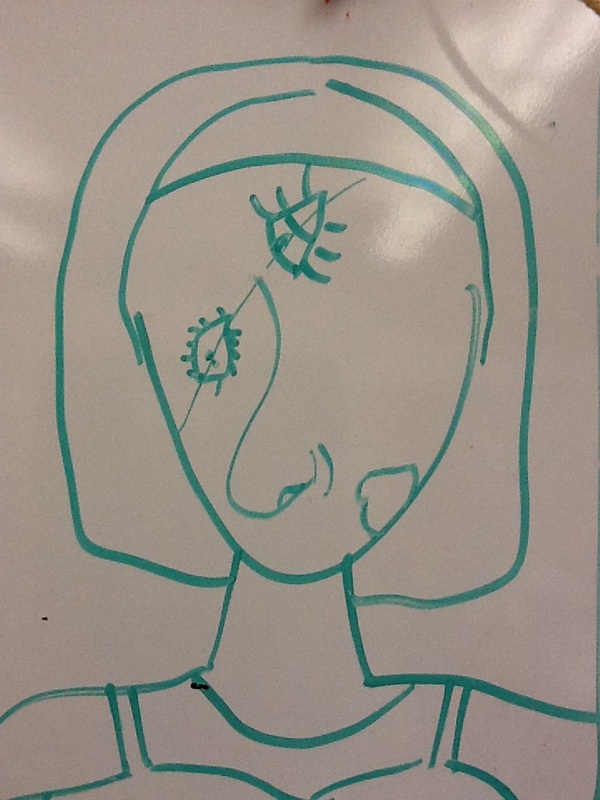  |
Part B - Final (Drawing on metal and color)
Step 7: Gather materials: (practice drawing, foil, cardboard, and a wood tracing tool. - video
Step 9: Color Plan - Using the color wheel, you will create a plan. Write out the colors you will use on your practice.
Step 11: Begin with sharpie.
Step 7: Gather materials: (practice drawing, foil, cardboard, and a wood tracing tool. - video
- Layer materials: Place practice drawing on top of the foil and cardboard underneath.
- Trace your design onto the foil. (Be care to not poke holes in the foil.)
Step 9: Color Plan - Using the color wheel, you will create a plan. Write out the colors you will use on your practice.
- Create contrast between the facial feature, skin, and the hair. You want all of these to be visible. Use value to accomplish this. Some parts must be lighter and other darker.
- In one major area, gradually blend from one color to another.
Step 11: Begin with sharpie.
- Use the lighter colors first.
- Use black last to outline.
