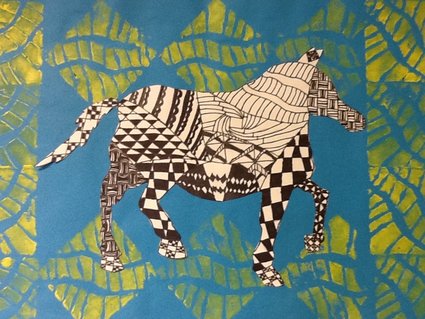
Zentangle Animal
Project Objectives:
The student will be able to:
View the full list of 6-8 Visual Arts Standards.
View the full list of 6-8 Technology Literacy Standards.
The student will be able to:
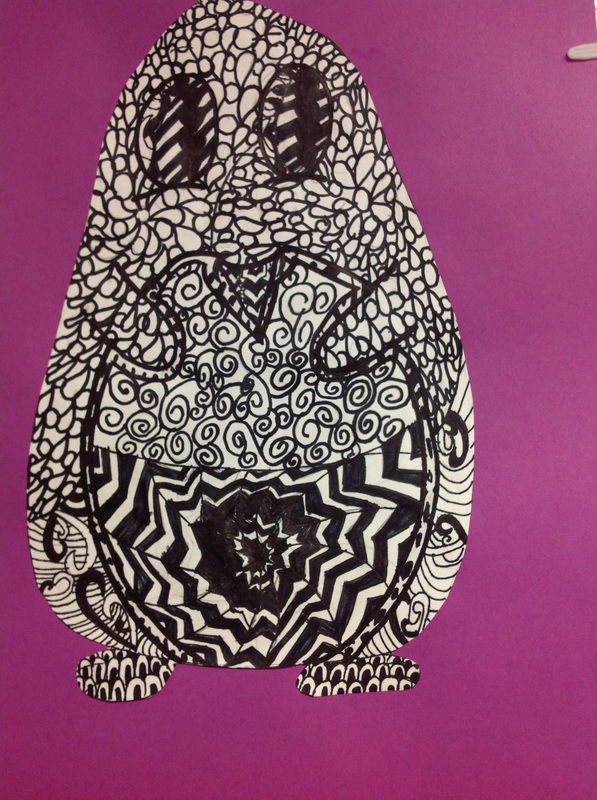
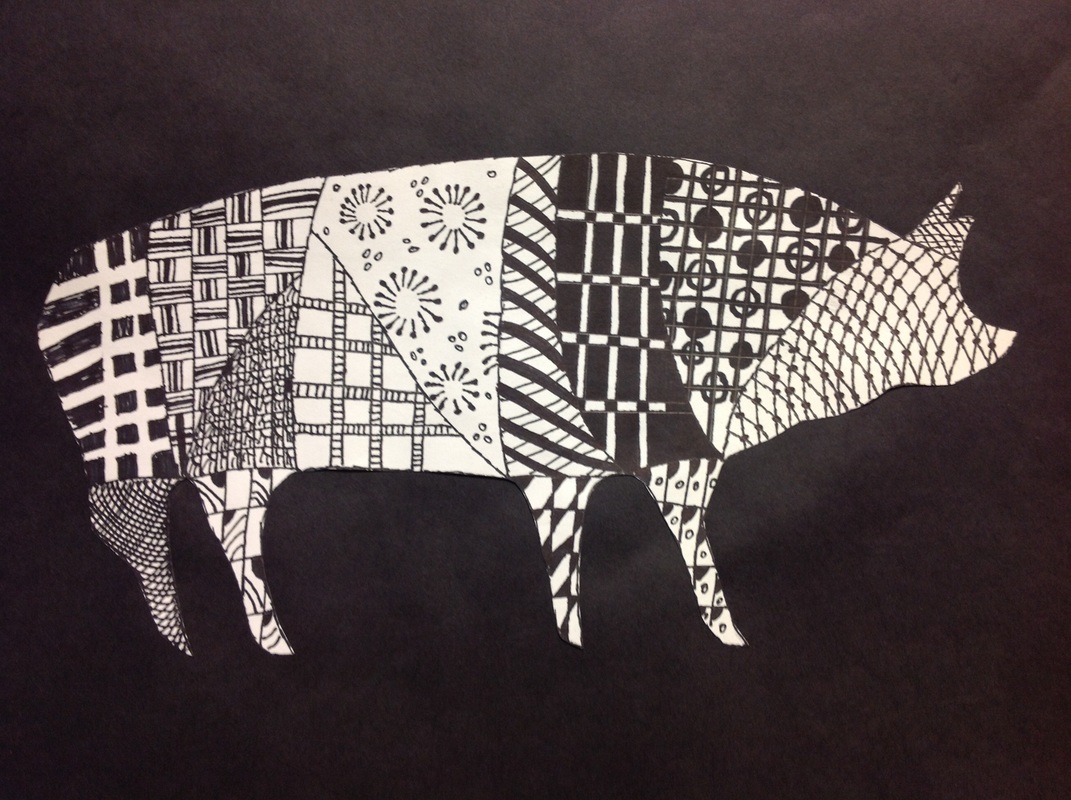
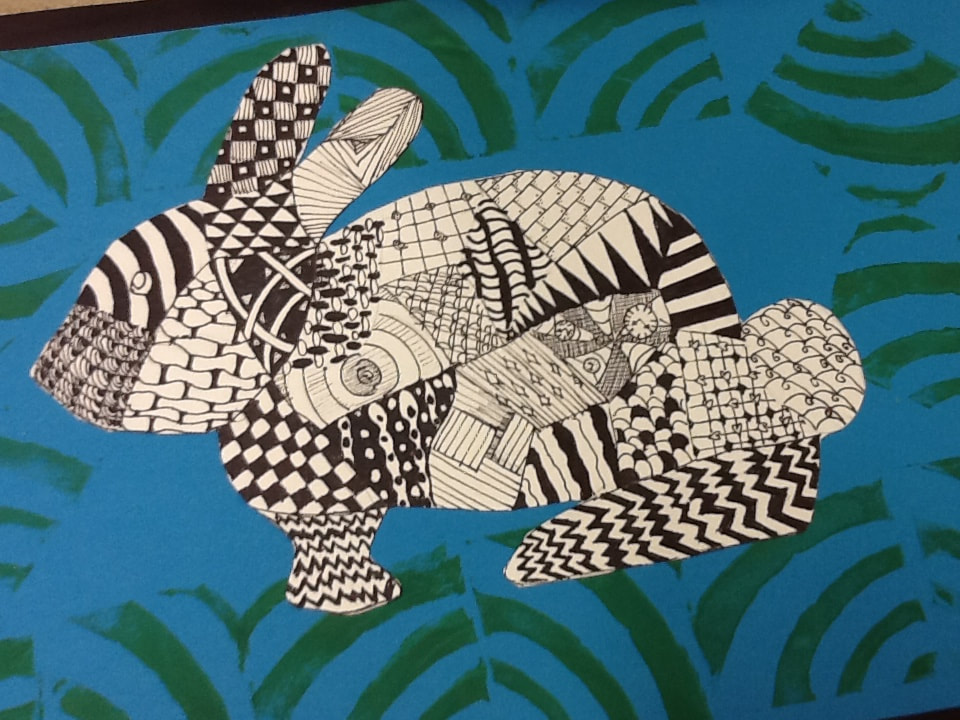
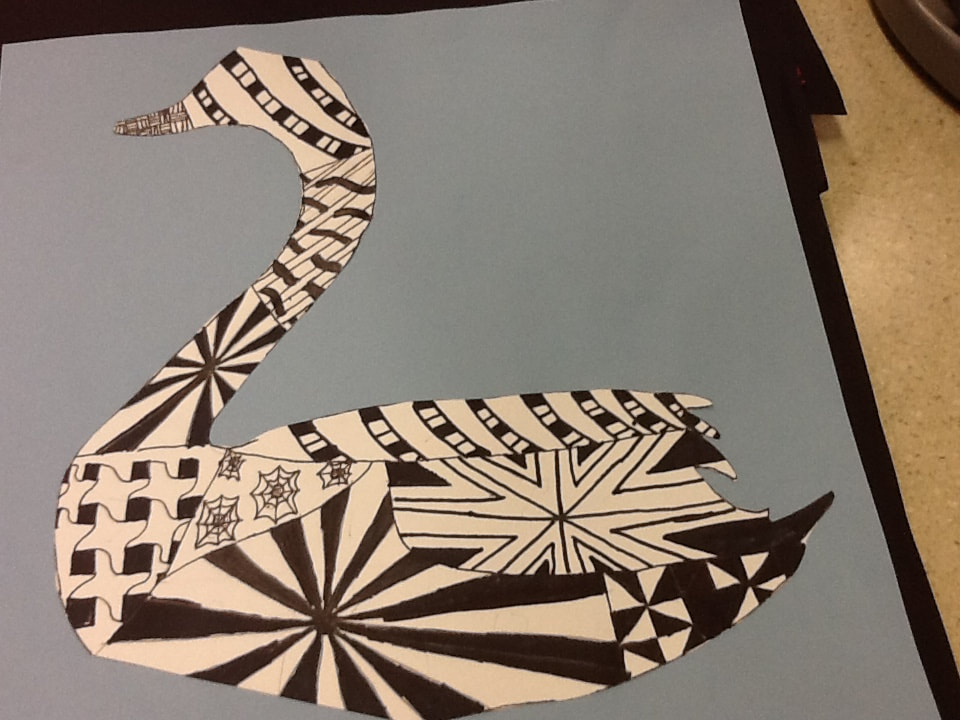
- discuss and understand art vocabulary and its use (outline, pattern, color schemes, contrast, space, positive/negative shape). (6-8 VA1ab, 6-8 VA5c)
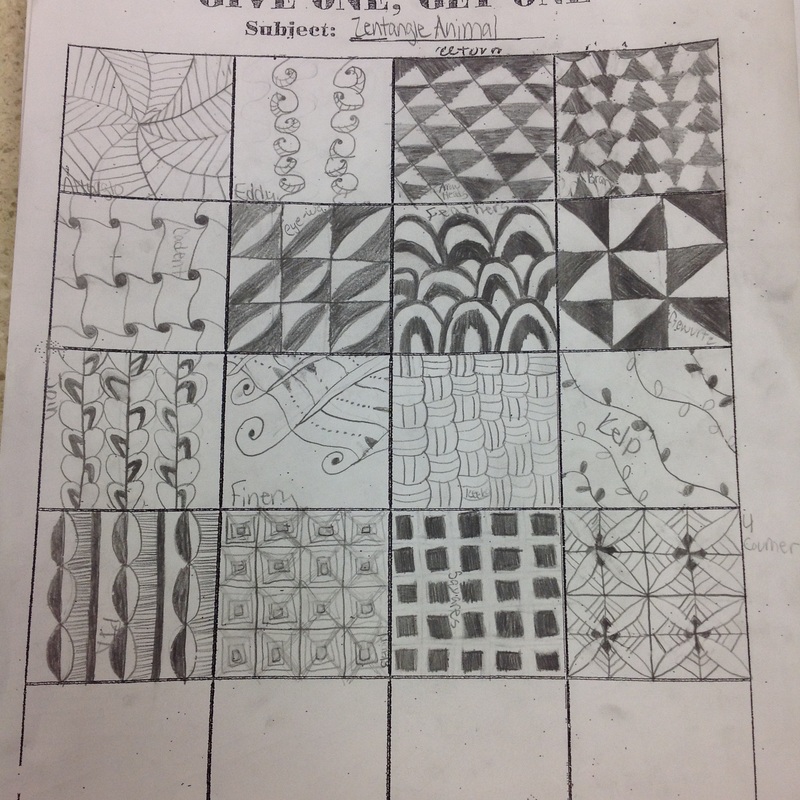
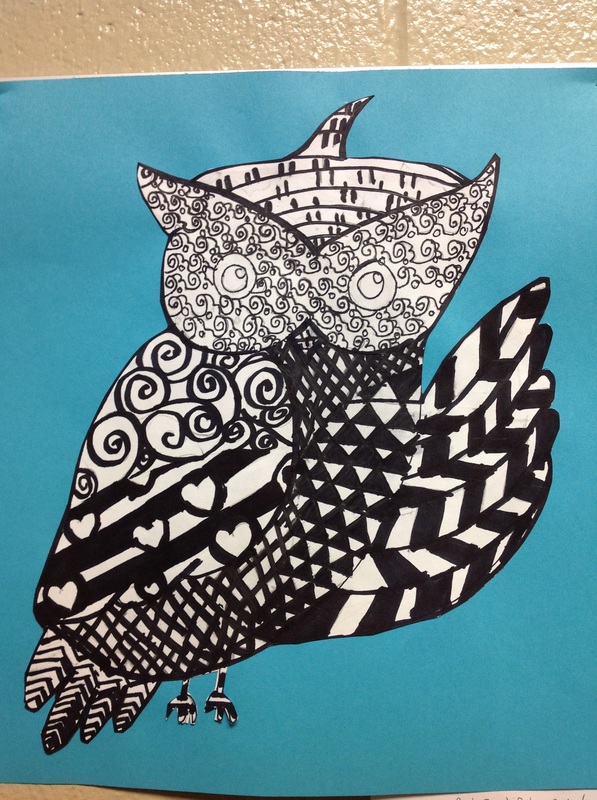
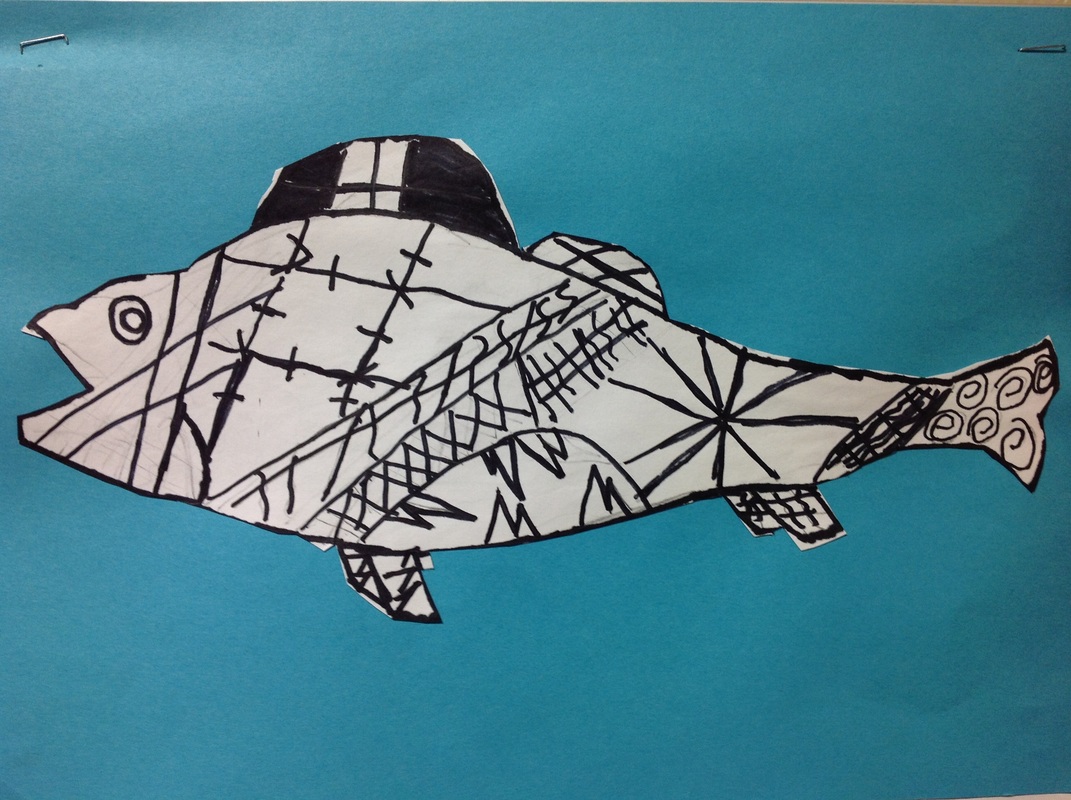
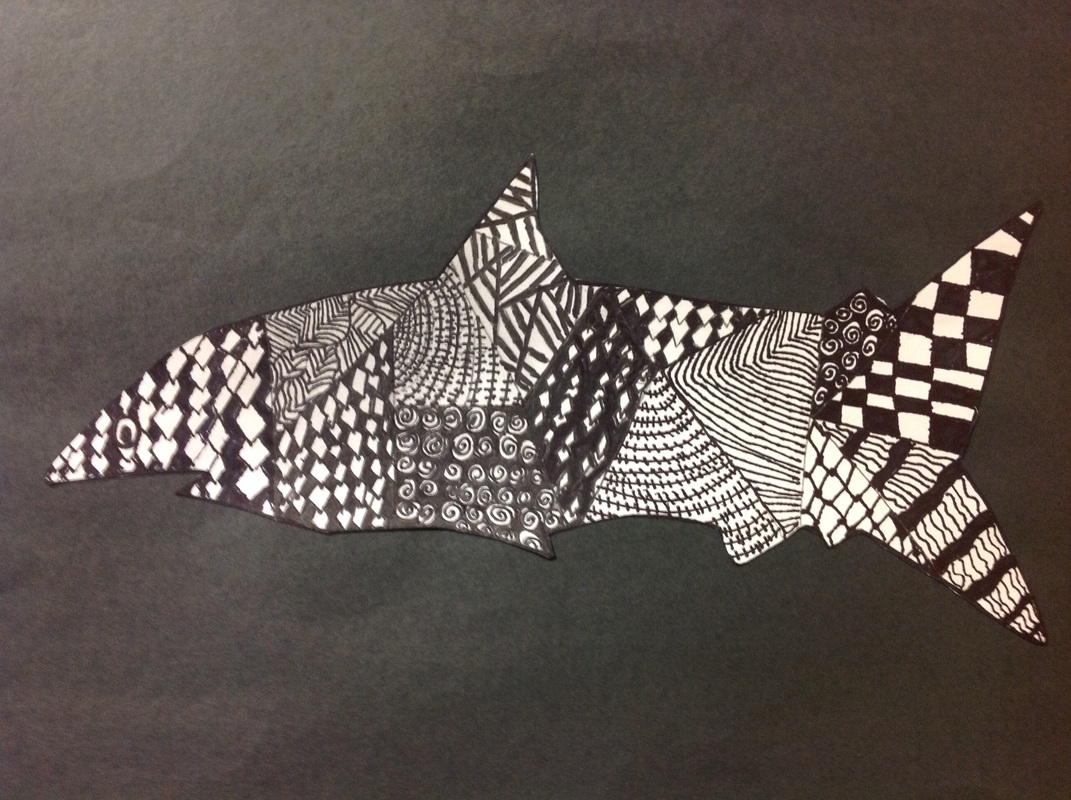
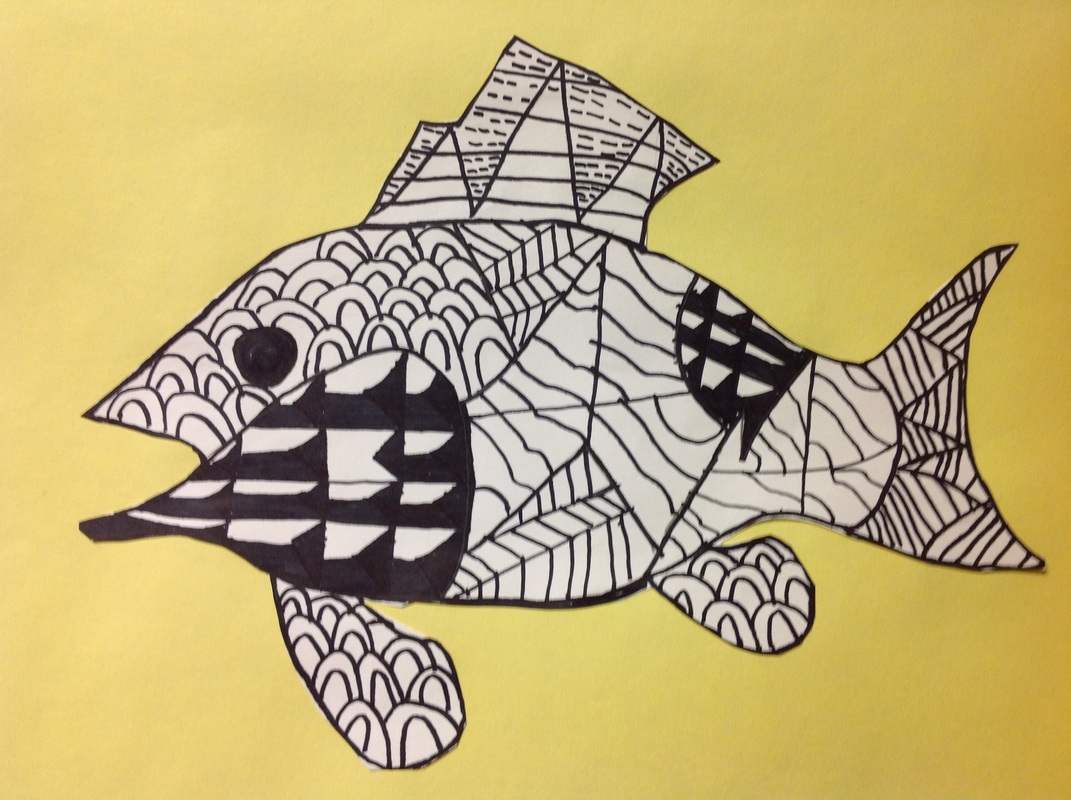
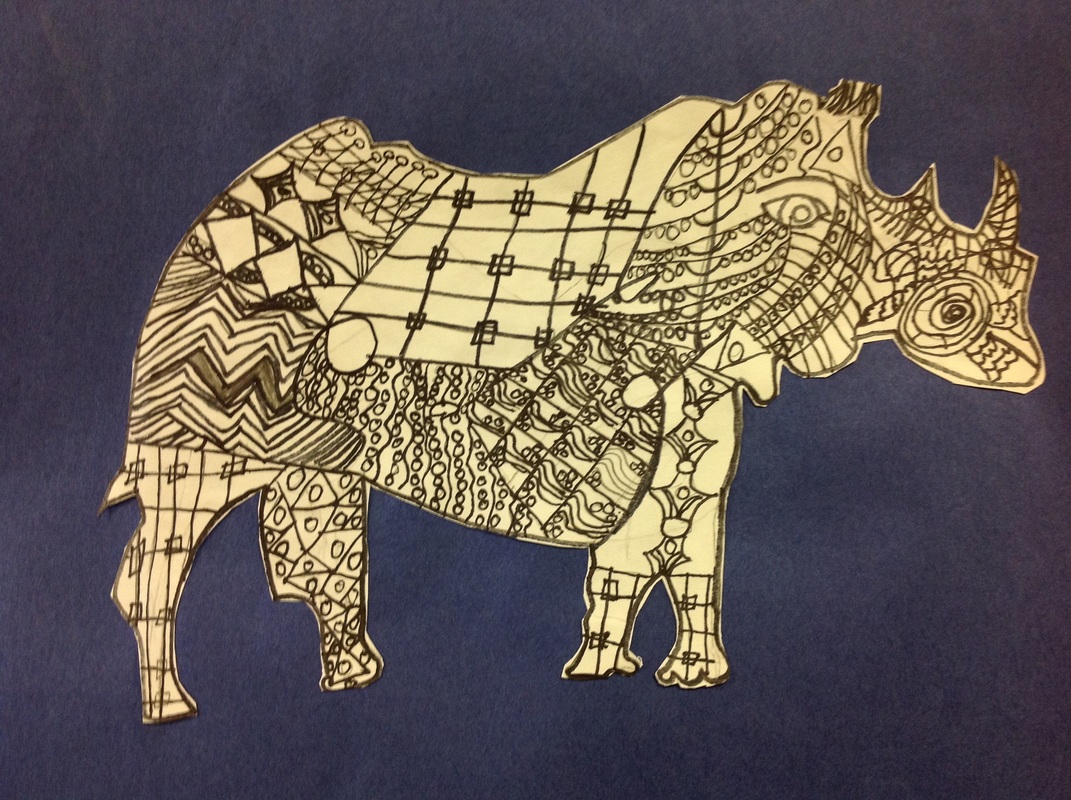
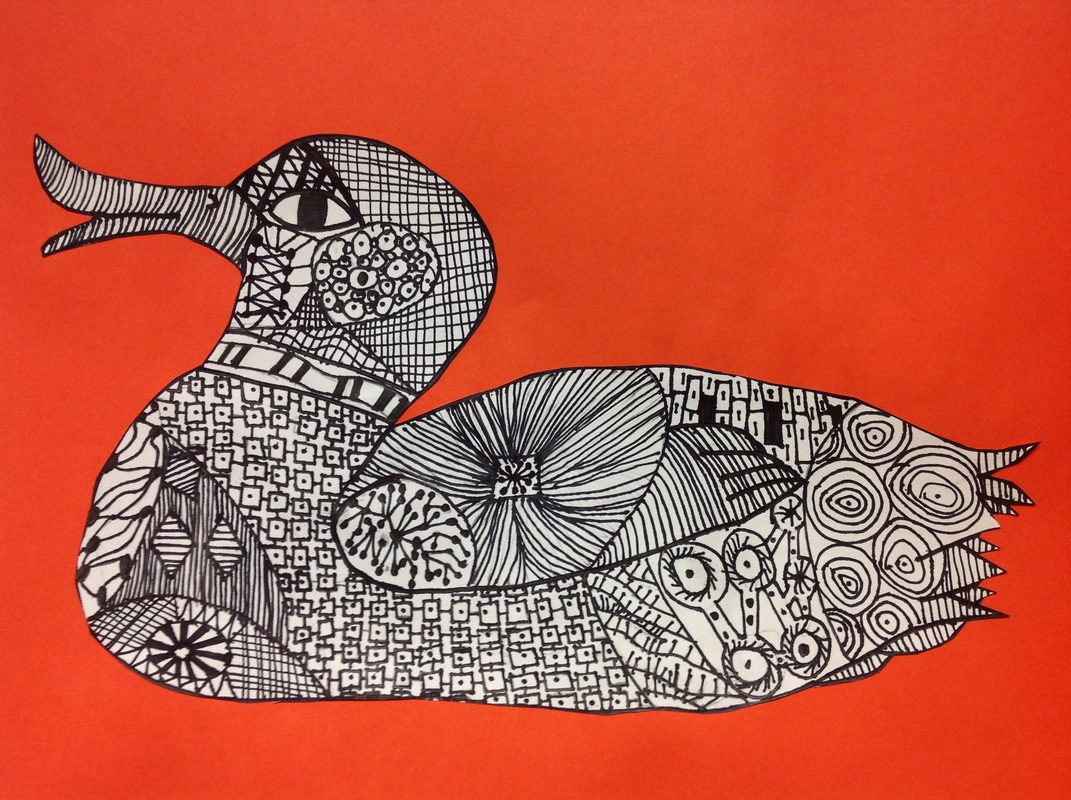
- create one (whole body) animal outline with 12-15 zentangle patterns. (6-8.ES.1, 6-8.ES.4)
- navigate and follow website directions independently. (6–8.TL.4)
- evaluation and rate their project honestly using the visual art rubric. (6-8.ES.1, 6-8.ES.2, 6-8.ES.3, 6-8.ES.5) (6-8 VA5c, 6-8 VA5c)
- write one strength and one improvement to make their project better in the future. (6-8.ES.3, 6-8.ES.4, 6-8.ES.5) (6-8 VA2bc, 6-8 VA5c)
View the full list of 6-8 Visual Arts Standards.
View the full list of 6-8 Technology Literacy Standards.
Step A: Creating your Zentangle Animals
|
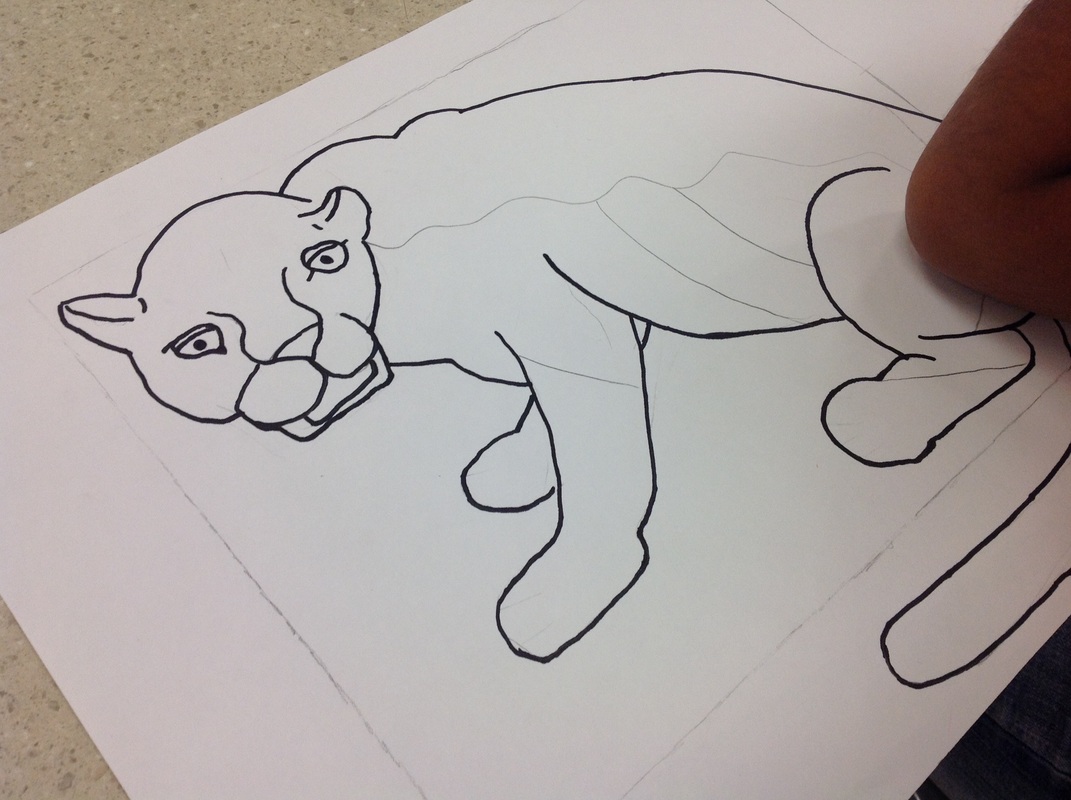
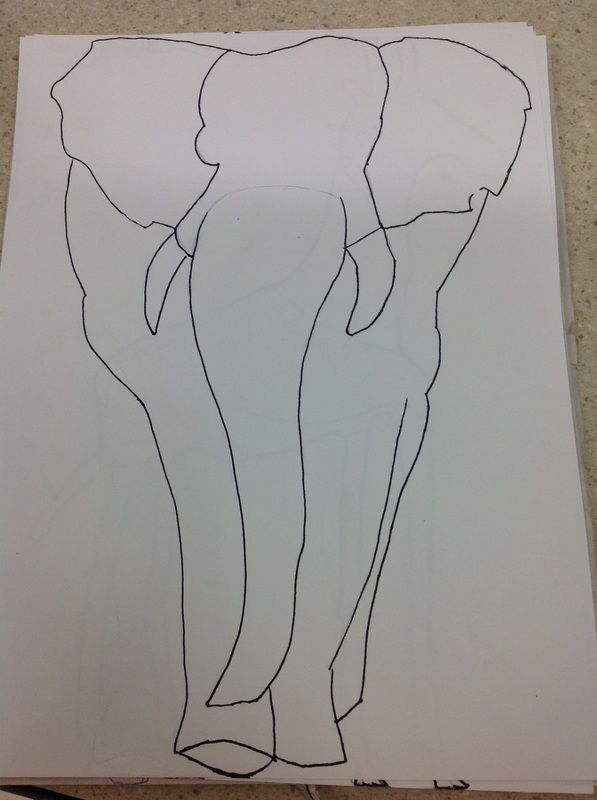
1. Decide on an animal. View animal outline drawings.
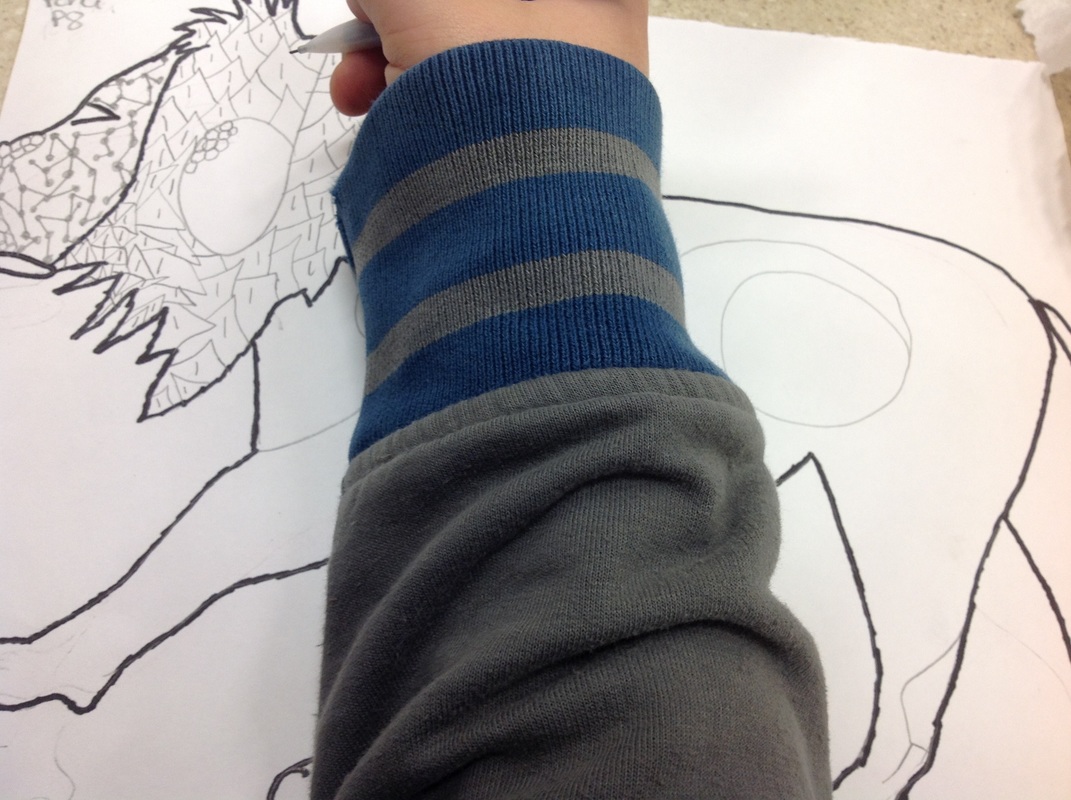
4. Watch the video on how to trace. video #4 & 5 5. Get final white paper: Use a pencil first trace. 6. Final Paper: Trace over the pencil in sharpie. 7. Final Paper: Write name and class in pencil. ---Show Mrs. C----------------------------------------------- |
|
|
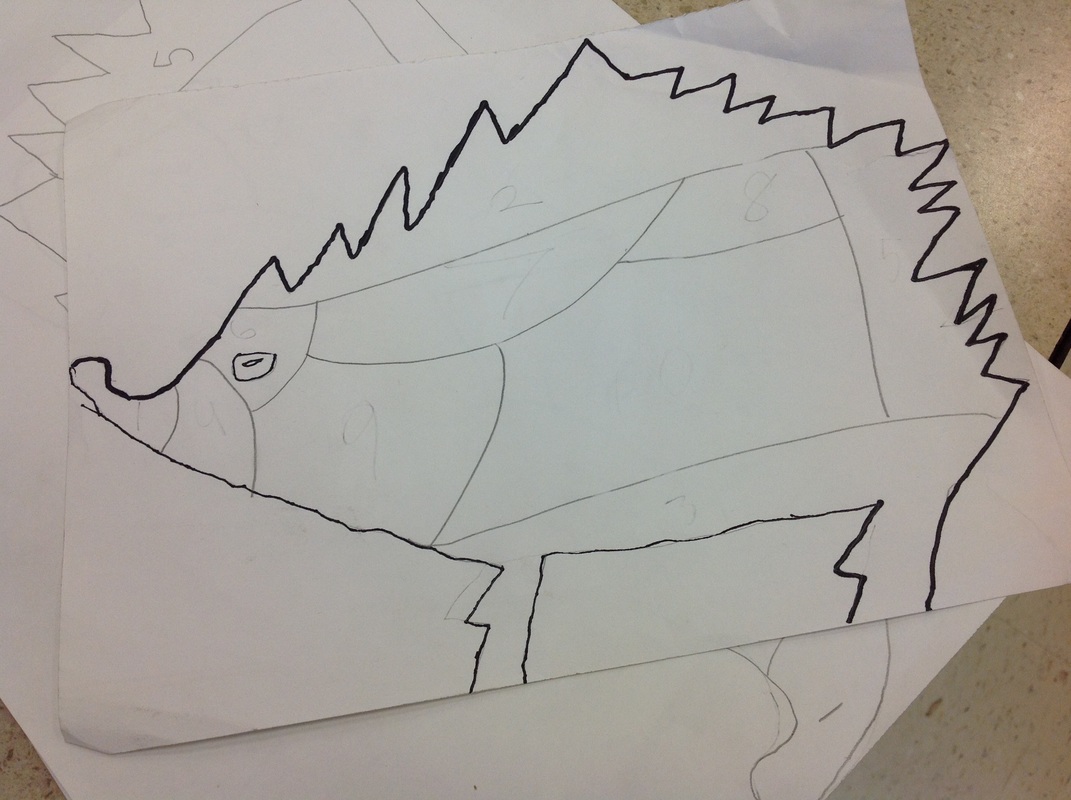
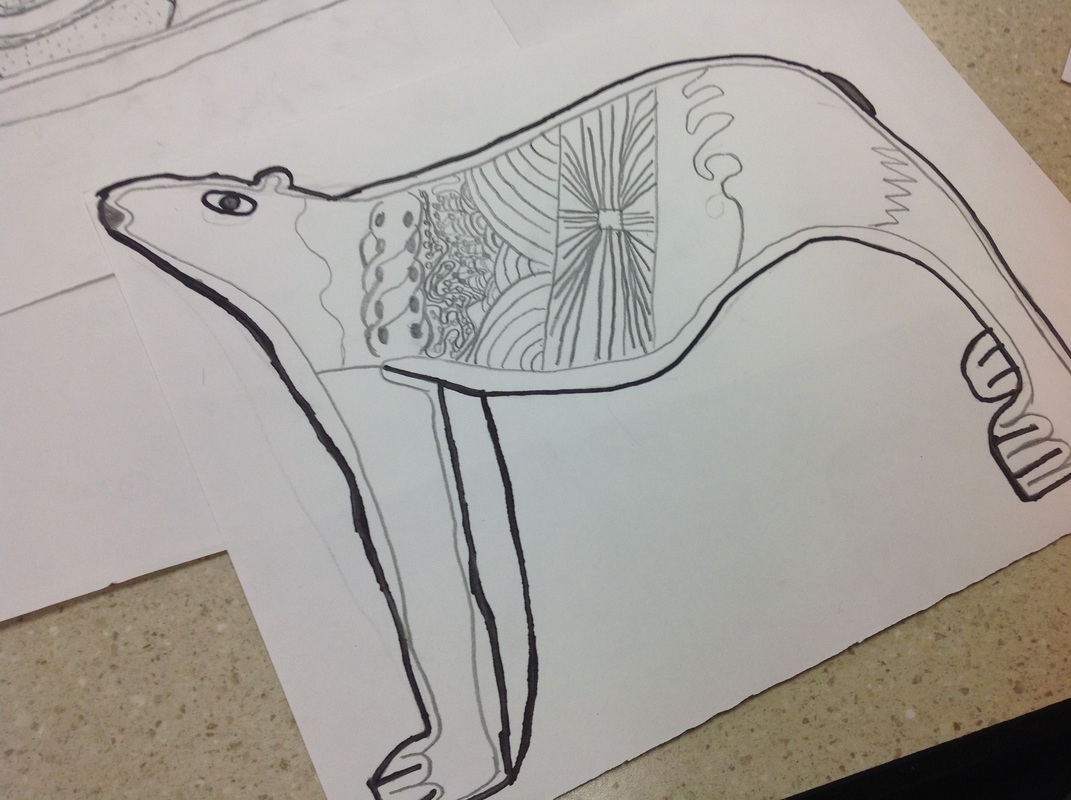
8. Practice Paper: Using pencil, begin to create divided spaces appropriate for your animal. (10-12 spaces) -video
9. Show Mrs. C. 10. Final Paper: Draw dividing lines on your final with pencil. - video 11. Bring your final drawing to Mrs. C.
|
|


Step B: Patterns
|
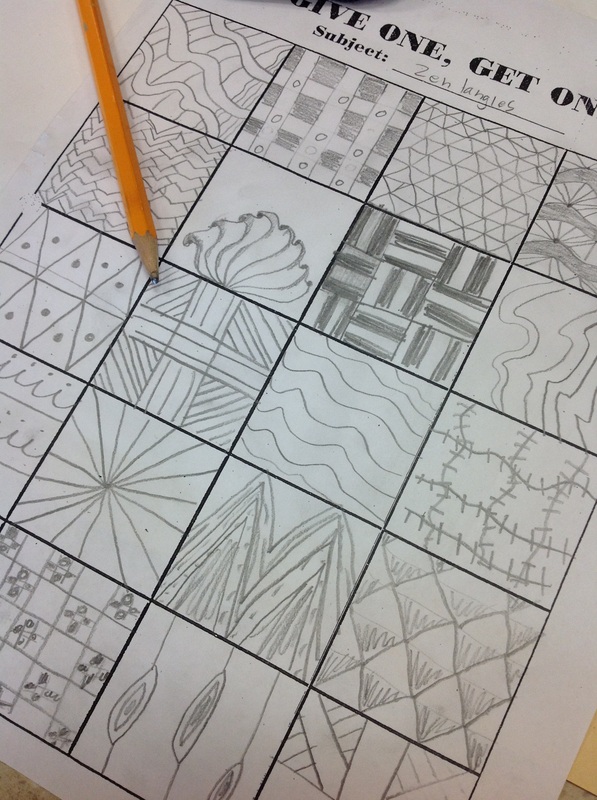
Brainstorm Zentangles for your animal.
Requirements:
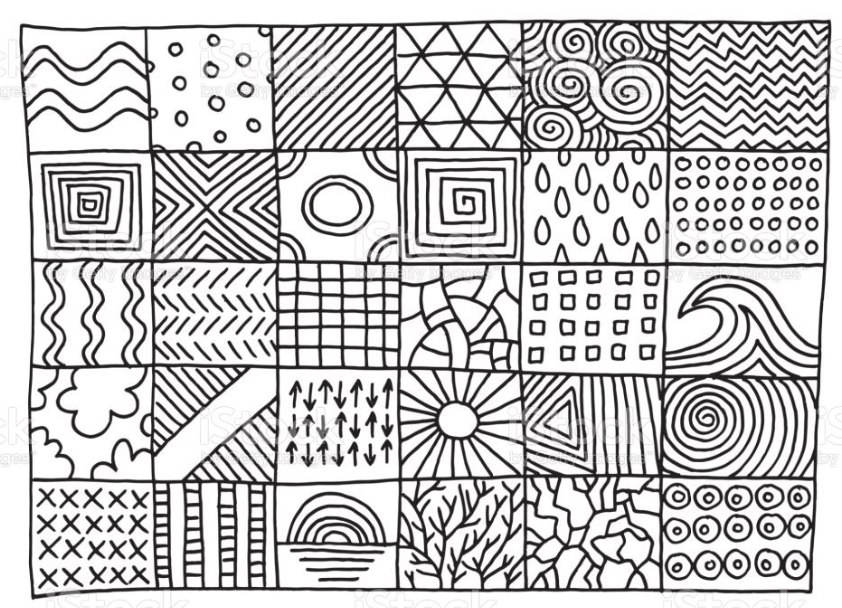
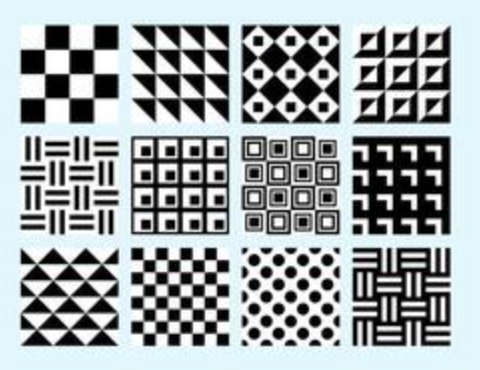
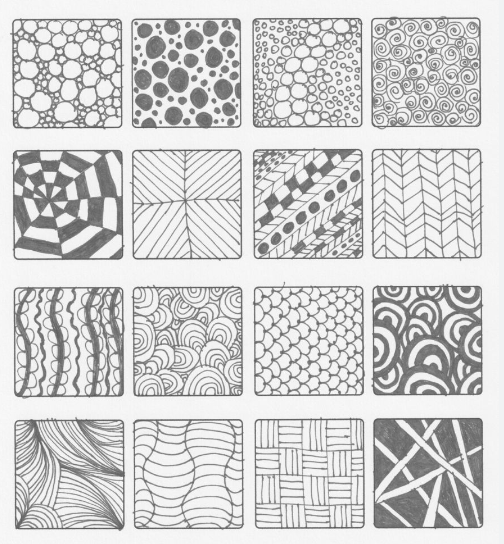
Pattern Examples:
   |
Step C:
|
Step 1: Show your zentangle practice paper to Mrs. C. Step 2: Practice drawing (folder): Draw in some of your favorite patterns in pencil on your practice paper. - video Step 3: Partner Check: Have a table mate look at your practice drawing.
Step 6: Cut out your animal and throw away your scraps.
Step 8: Take a picture and fill out the google doc. Step 9: Upload to Canvas - Zentangle Animal Final Step 10: Turn in your project and chart on Mrs. C's desk. |
              |
Step D: Printed Background - Extra
|
Printmaking
1. Gather Materials: Video
3. Create your print. video
|
|
Creating a Printing Block - Ahead of everyone else?
|
1. Gather materials: pencil, carving block, carving tool, and zentangle chart paper. Video
2. Draw one pattern very large on one side of your carving block. 3. Show Mrs. C. 4. Begin to cut away using the carving tool. Clean up your mess. 5. Work on the color wheel. |
|
Don't feel great about your Zentangle Animal?
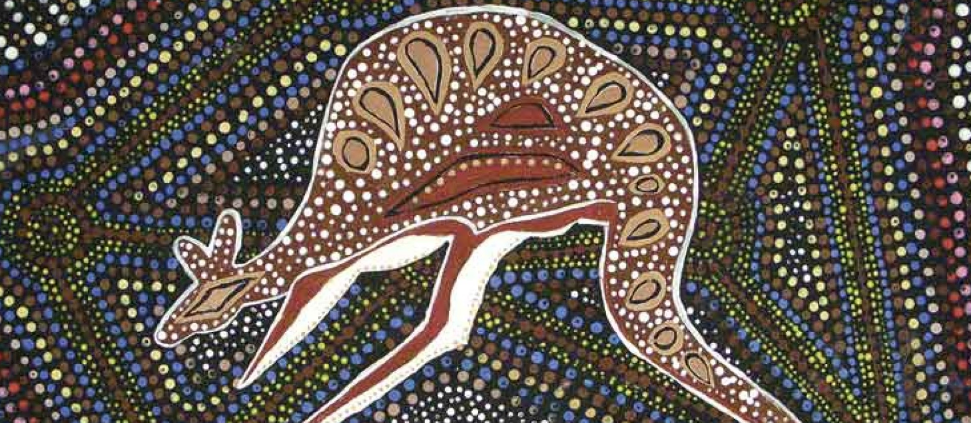
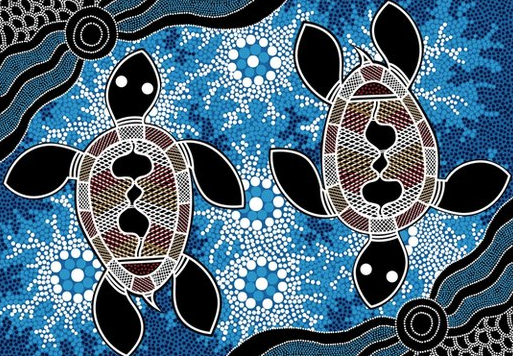
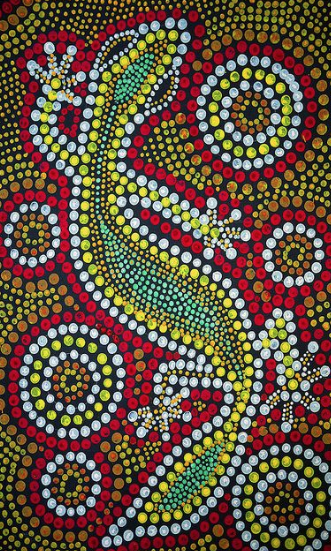
Create an Aboriginal Animal:
- Trace your animal one more time. (Ask Mrs. C for a new white paper.)
- Create a series of one shape to create dots around.
- Begin adding dots contrasting color around the shape.
- Select a color for your background.
- Trace your animal on the new background. (This will help you know where to place the background dots.
- Begin making a shape using dots.
- Repeat the dot design to fill the background. Use contrasting colors.