Realistic Portraits
Objective:
|
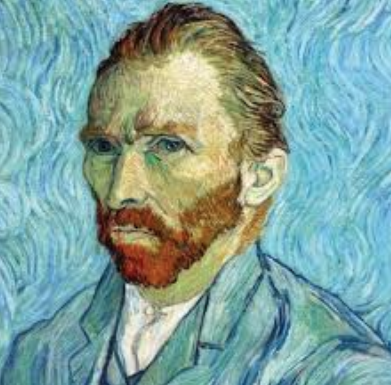
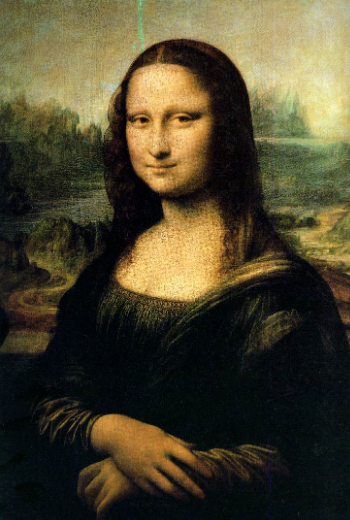
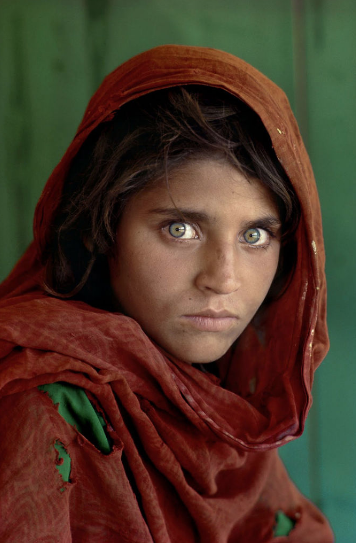
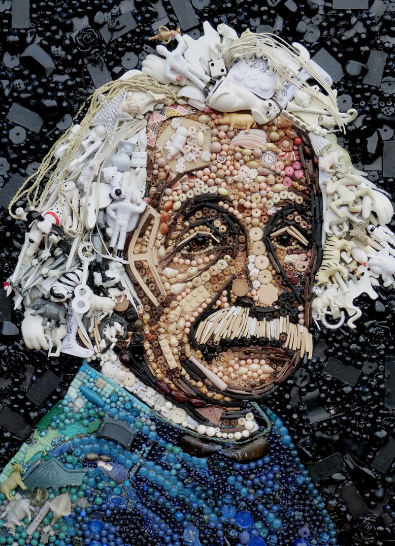
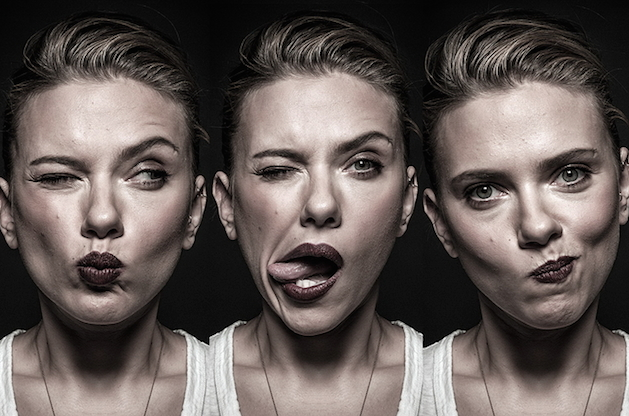
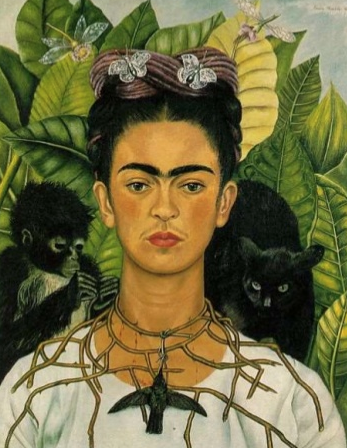
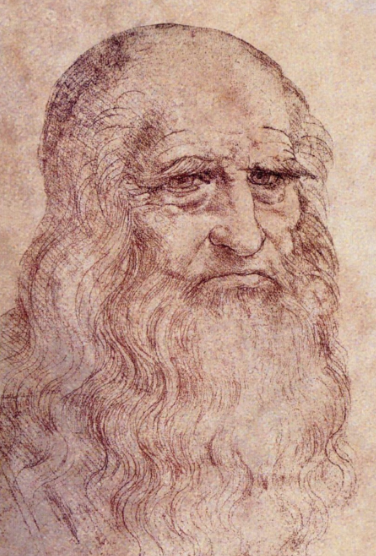
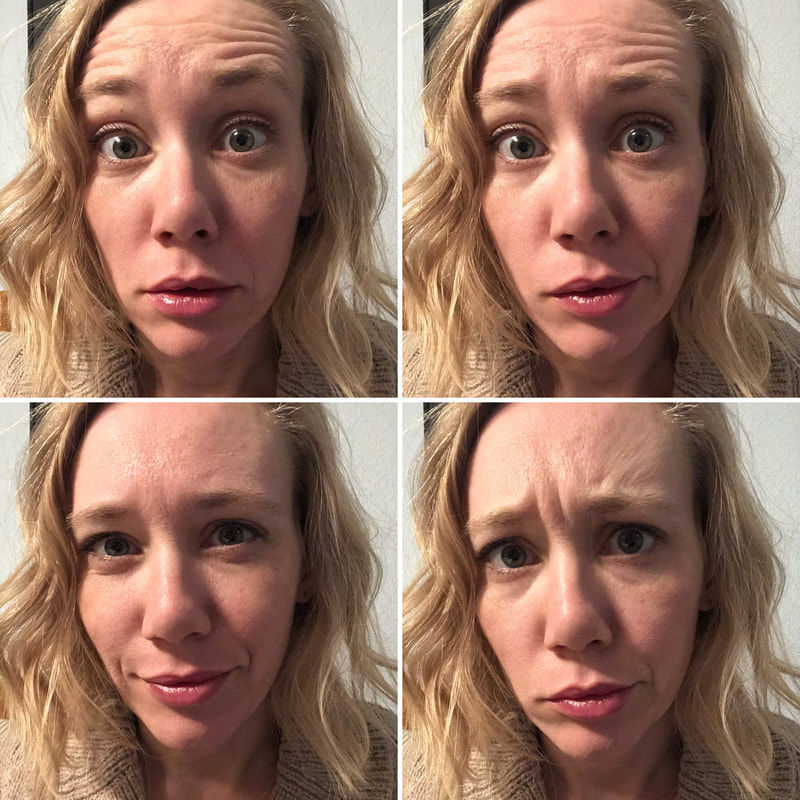
Inspiration: Portraits have been created for centuries. The purpose and idea of a portrait has changed but we are still trying to capture emotion.
|


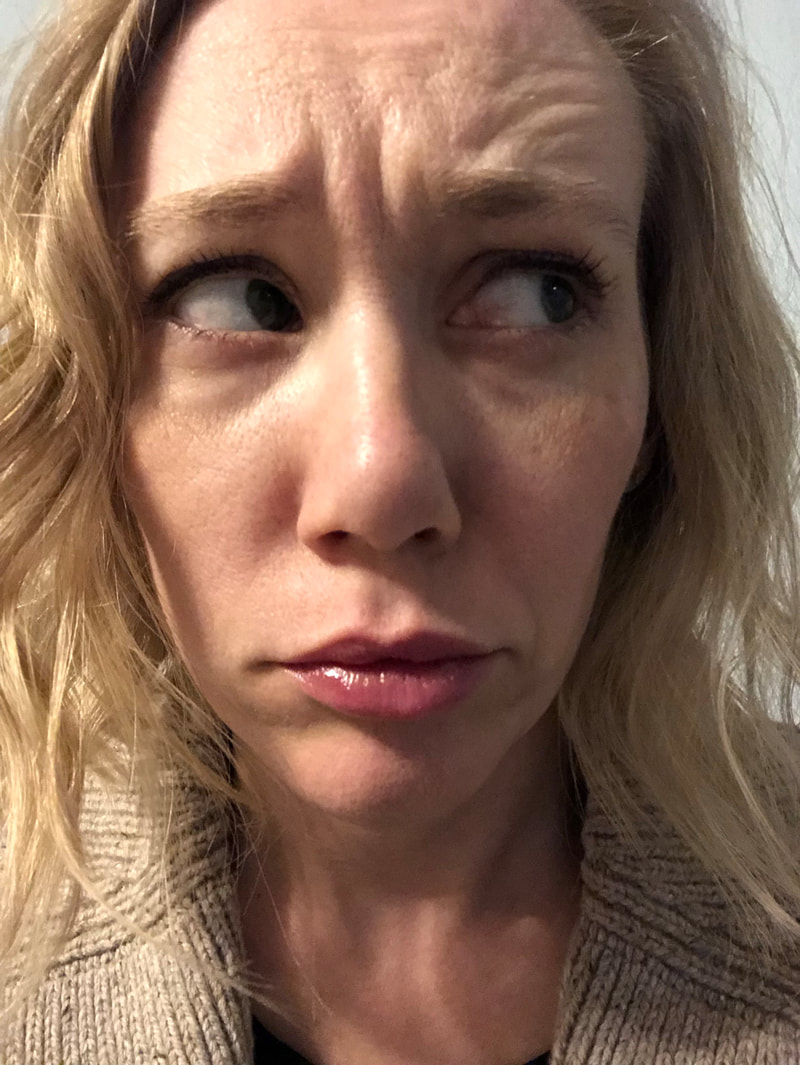
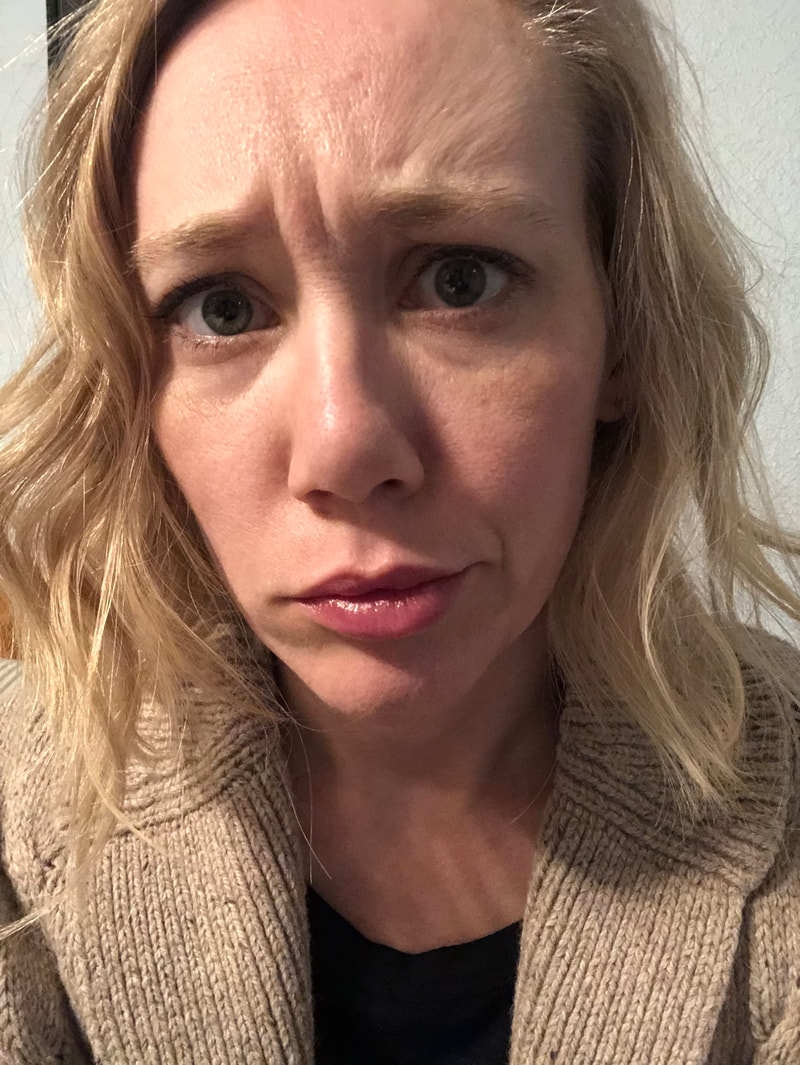


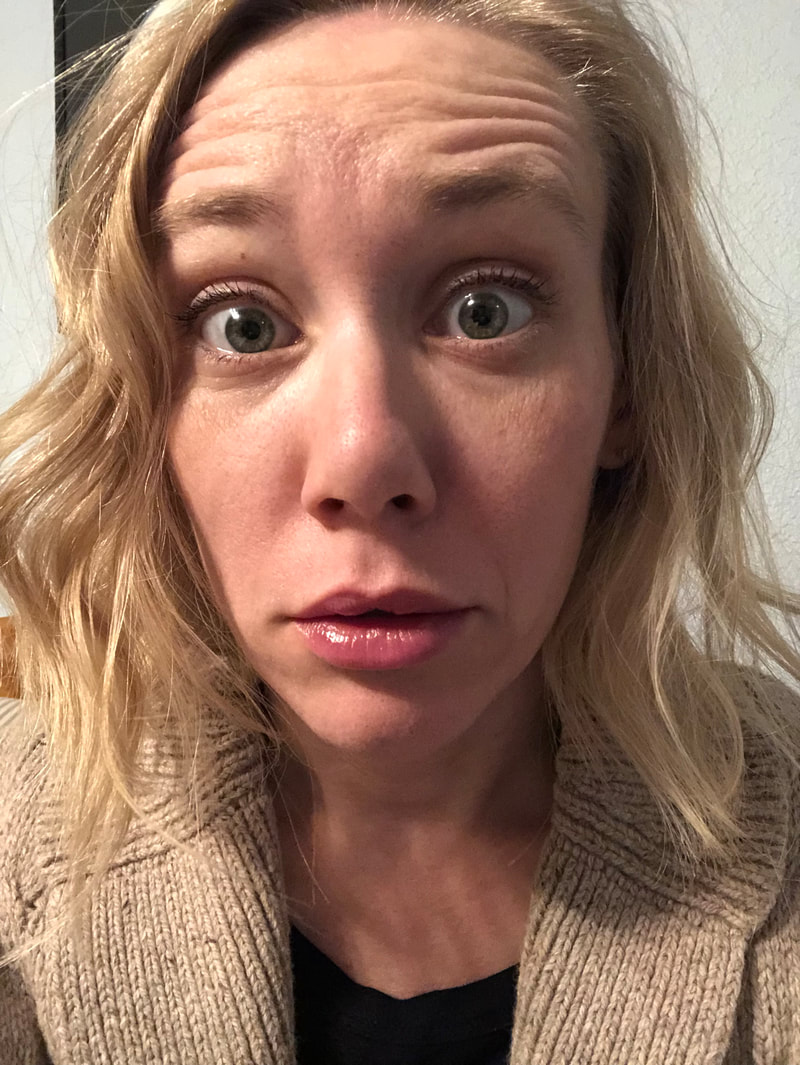

Part A: Take a picture of yourself.
Part B: Get a practice paper and a mirror from Mrs. C.
|
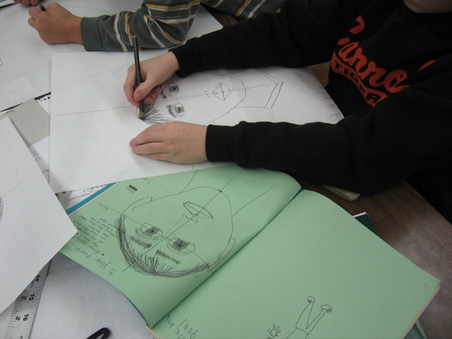
1. Watch this video and draw a quick practice drawing. 5 minutes
Materials: pencil, sharpener, paper, eraser |
2. Practice the eyes, nose, and mouth on a separate paper (or your folder). Use the videos below to help you.
|
3. Draw in the eyes, nose, and mouth using the correct proportion.
|
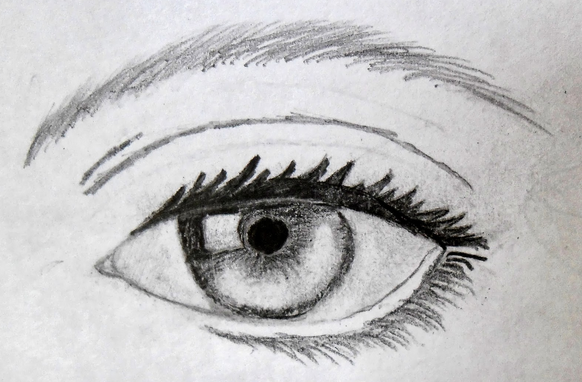
Understanding the Guidelines & Eyes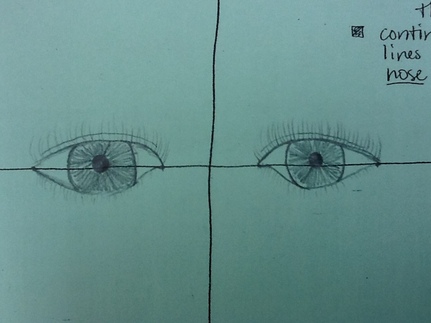
|
Nose and Eyebrows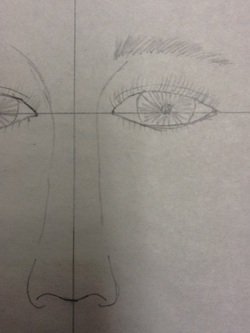
Nose: video
Step 1: Draw the squiggle. Step 2: Draw the parentheses. Step 3: Draw the side of the nose up around the eyes. Eyebrows: video Step 1: Draw your generic eyebrow lines. - Keep the lines high enough that you still have an eyelid. Step 2: Fill in with more hairs to make the eyebrow look more realistic. (Be sure you draw lightly if you have light eyebrow hairs.) |
Lips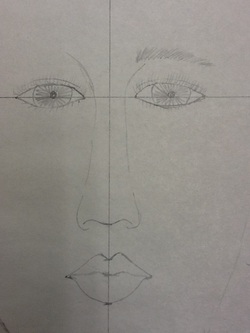
Lips: video
Step 1: three dashes Step 2: corners of mouth -under pupil or inside part of iris Step 3: 'V' or 'U' - indented part of lip on the top mark Step 4: draw from the top of the 'u' or 'v' to the corners. Step 5: draw from the corners to the bottom mark Step 6: line for the middle of the lips - look in the mirror |
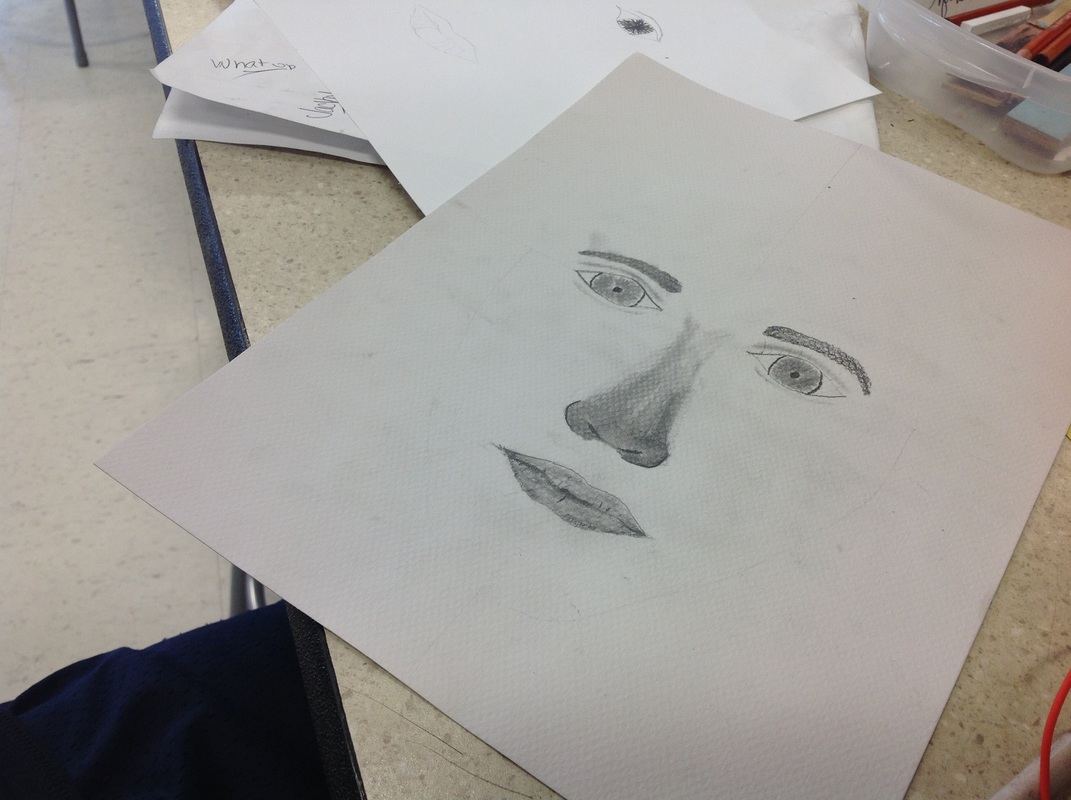
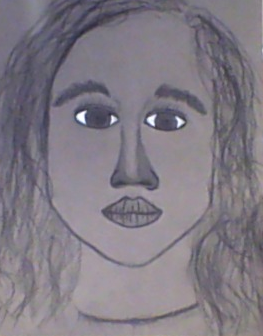
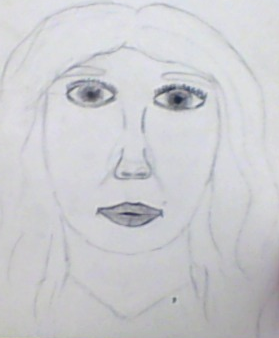
Final Portrait: Taping and Tracing your Design
Taping and Tracing video
Step 1: Materials: packet with drawing, tape, final large paper
Step 2: Tape (2 pieces) drawing to back of final paper. - (be sure your drawing is centered and not crooked)
Step 3: Trace lightly your eyes, nose, and lips - getting the general shape.
Step 4: Trace lightly your chin and neck.
Step 5: Take the drawing off the back. (throw away the tape)
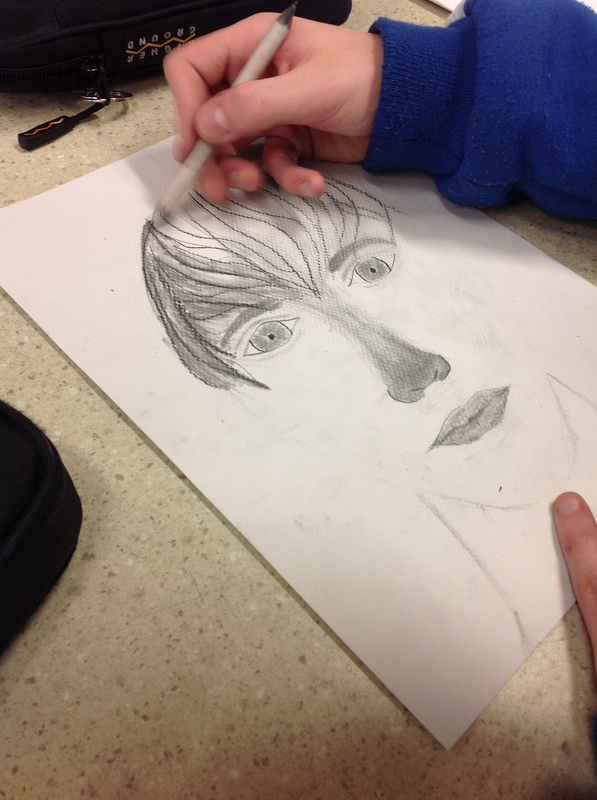
Step 6: Compare your final drawing to your packet drawing. What fixes do you need to make? How can you make your final look better? Add you creative twist to your drawing. Revisit the videos from above to help.
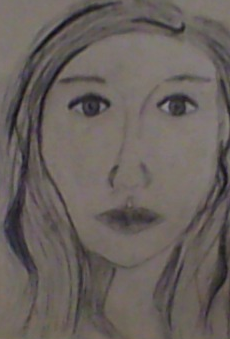
Step 7: Go back through and make some lines darker and others keep light. Remember the eyes should be the darkest part of the face.
Step 8: Shoulders
Step 9: Ears
Step 10: Hair
Step 1: Materials: packet with drawing, tape, final large paper
Step 2: Tape (2 pieces) drawing to back of final paper. - (be sure your drawing is centered and not crooked)
Step 3: Trace lightly your eyes, nose, and lips - getting the general shape.
Step 4: Trace lightly your chin and neck.
Step 5: Take the drawing off the back. (throw away the tape)
Step 6: Compare your final drawing to your packet drawing. What fixes do you need to make? How can you make your final look better? Add you creative twist to your drawing. Revisit the videos from above to help.
Step 7: Go back through and make some lines darker and others keep light. Remember the eyes should be the darkest part of the face.
Step 8: Shoulders
Step 9: Ears
Step 10: Hair
Want to shade with Charcoal on your final?
Check out these videos!
Check out these videos!
Shading with Charcoal
Use the videos below to help you practice with charcoal. Be sure to not brush your hand across the shading. It will smear.
|
|
|
|
|
        |
